OpenAI, a leading AI company, offers API keys for developers to interact with its platform and utilize its LLM models in various projects. In this article, you’ll learn how to create your own OpenAI API Key, updated as of 2024.
The simplest and recommended way to generate your API key is through the OpenAI developer platform, where you can manage your projects (In OpenAI, a “project” is an environment where developers can organize their AI applications, APIs, and associated resources).

Note: This article assumes you are new to creating API keys on OpenAI.
Table of contents
Steps to Create an API Key
Visit the OpenAI Platform: Go to https://platform.openai.com and log in or sign up.
If you’re signing up, you’ll be prompted to provide your organization’s name and birthdate. You can enter anything for the organization name, but keep in mind that this will be the name of your account. Choose something that your team will recognize.
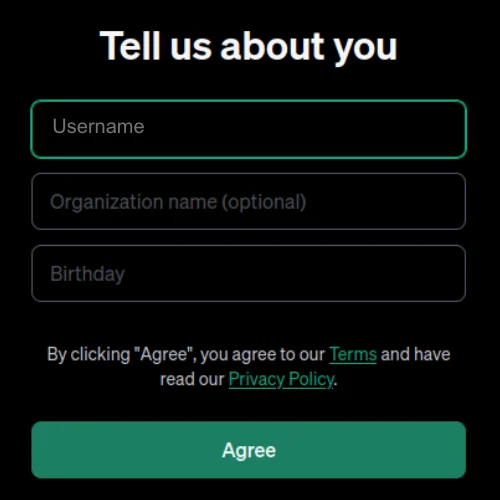
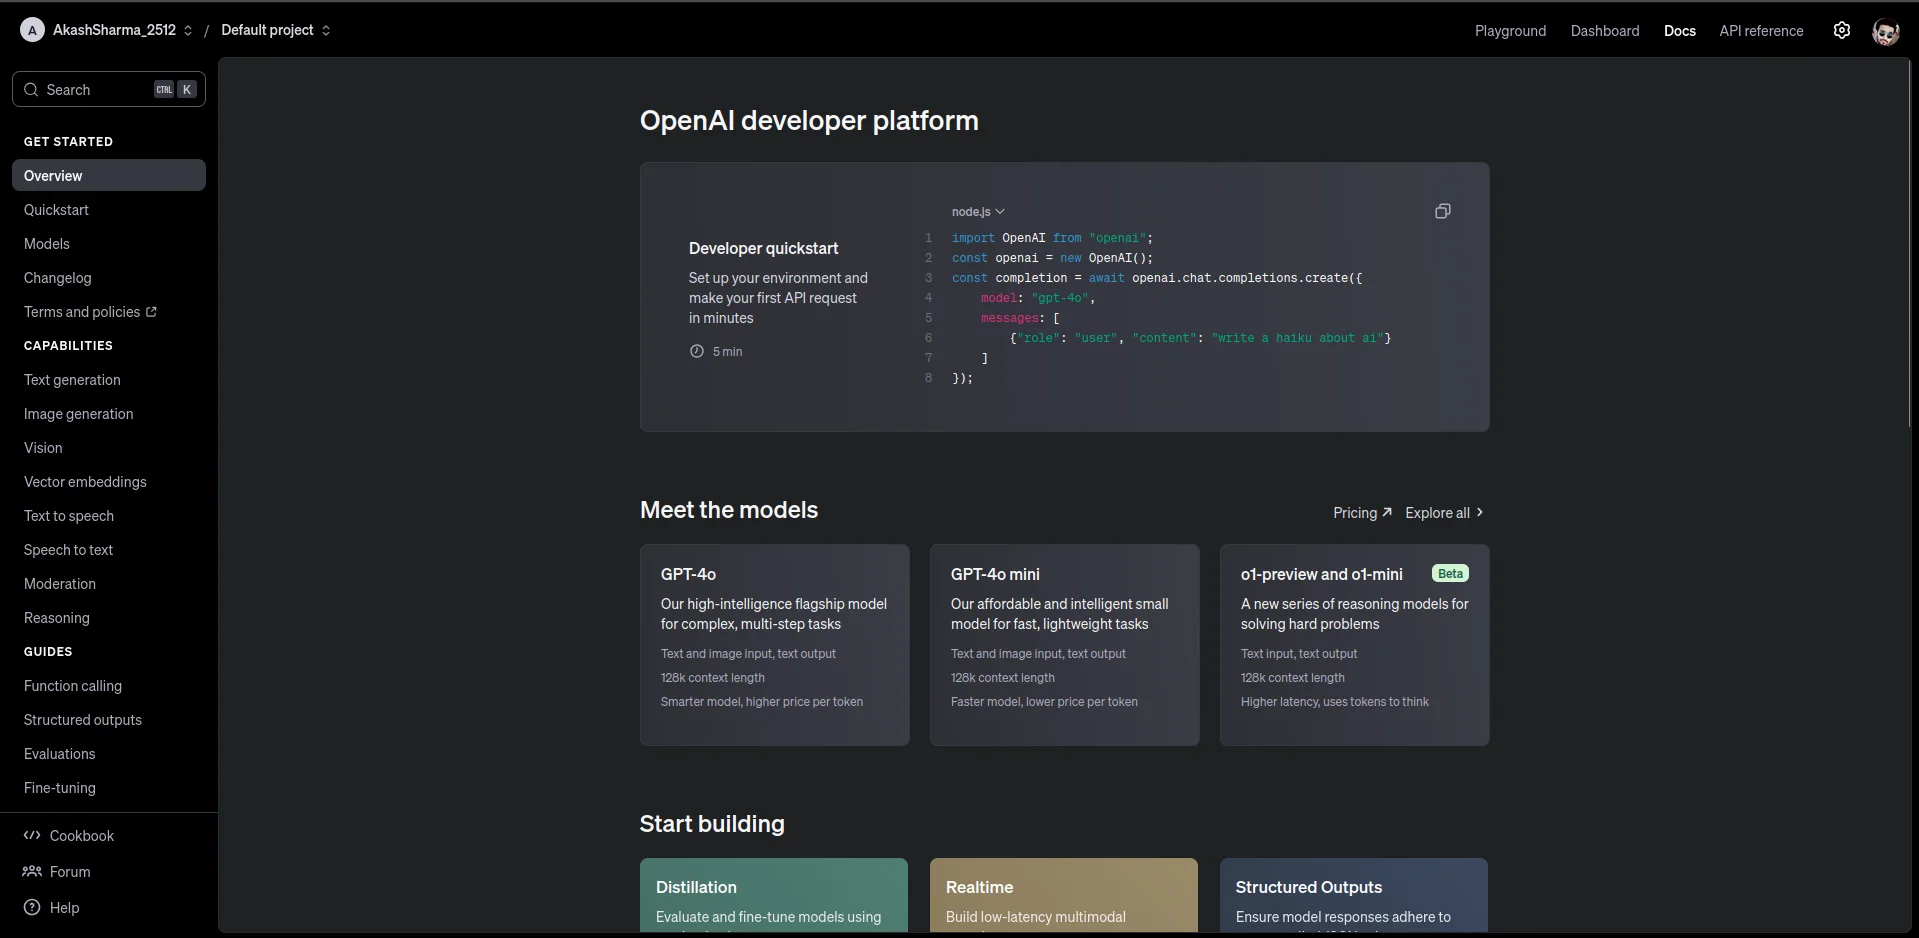
After you have given your Organization name and Birthdate, you will be redirected to the below interface:
Create a Project
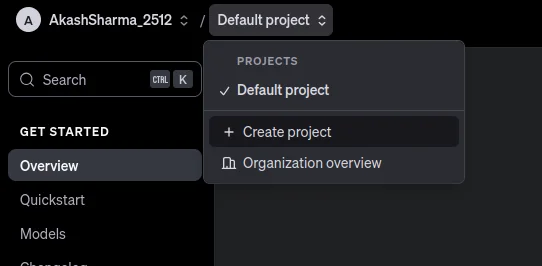
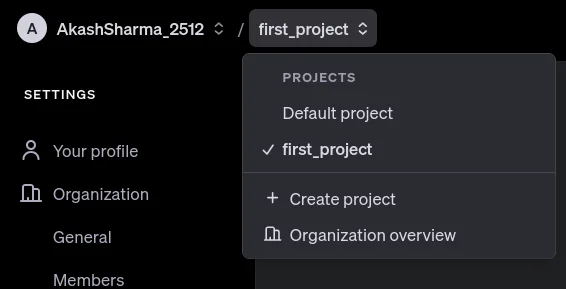
In the top-left corner, click on “Default project” and select “Create project”.
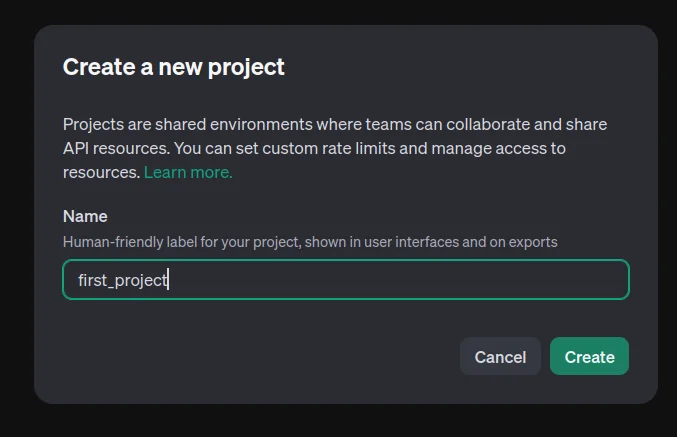
Name your project. If you only need multiple API keys for a single project, create one project, and manage all keys within it. Create separate projects when you need different environments, access control, or billing setups.
After creating a project, select it from the top-left corner.
Verify Your Phone Number (For New Users)
For new users, phone verification is required before creating an API key. Navigate to API Keys under the Dashboard tab.
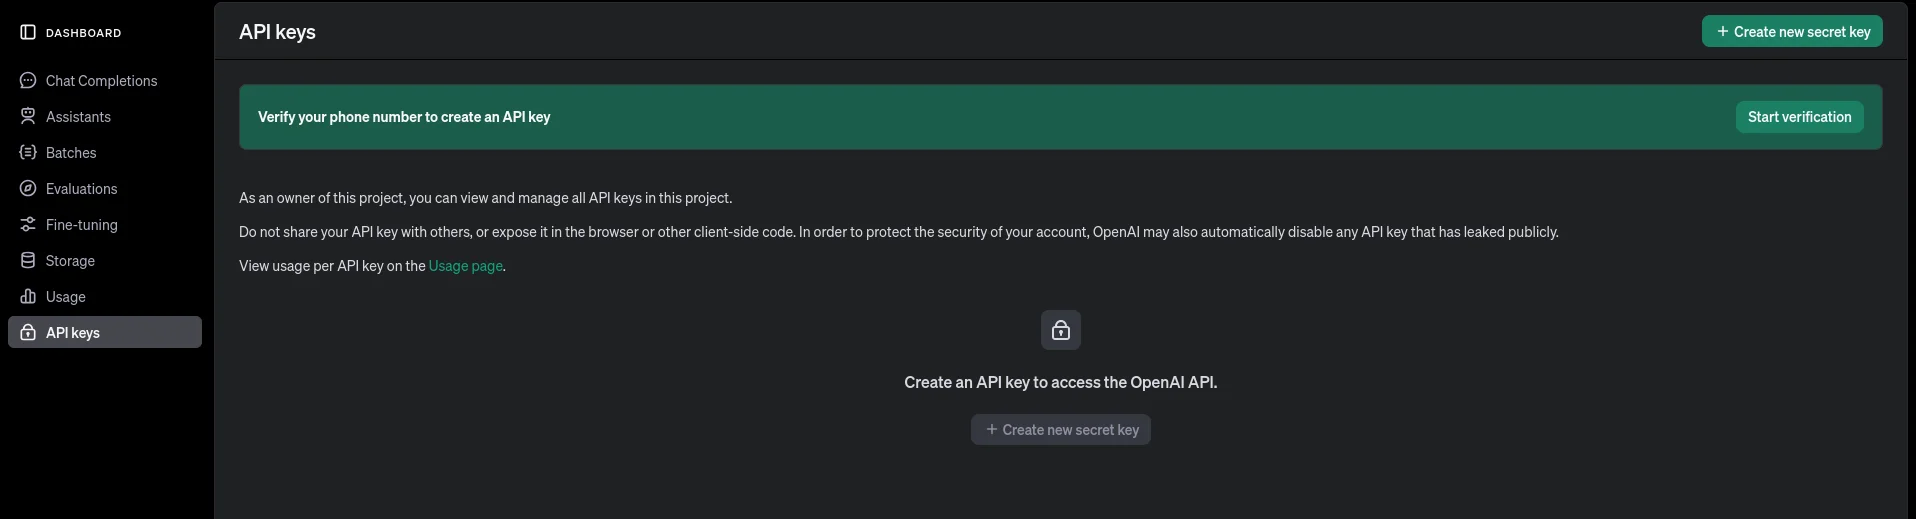
Click Start Verification. Enter your phone number, then input the code you receive.
Create the API Key
After verification, naviage to API keys in the Dashboard. Click “Create new secret key”.
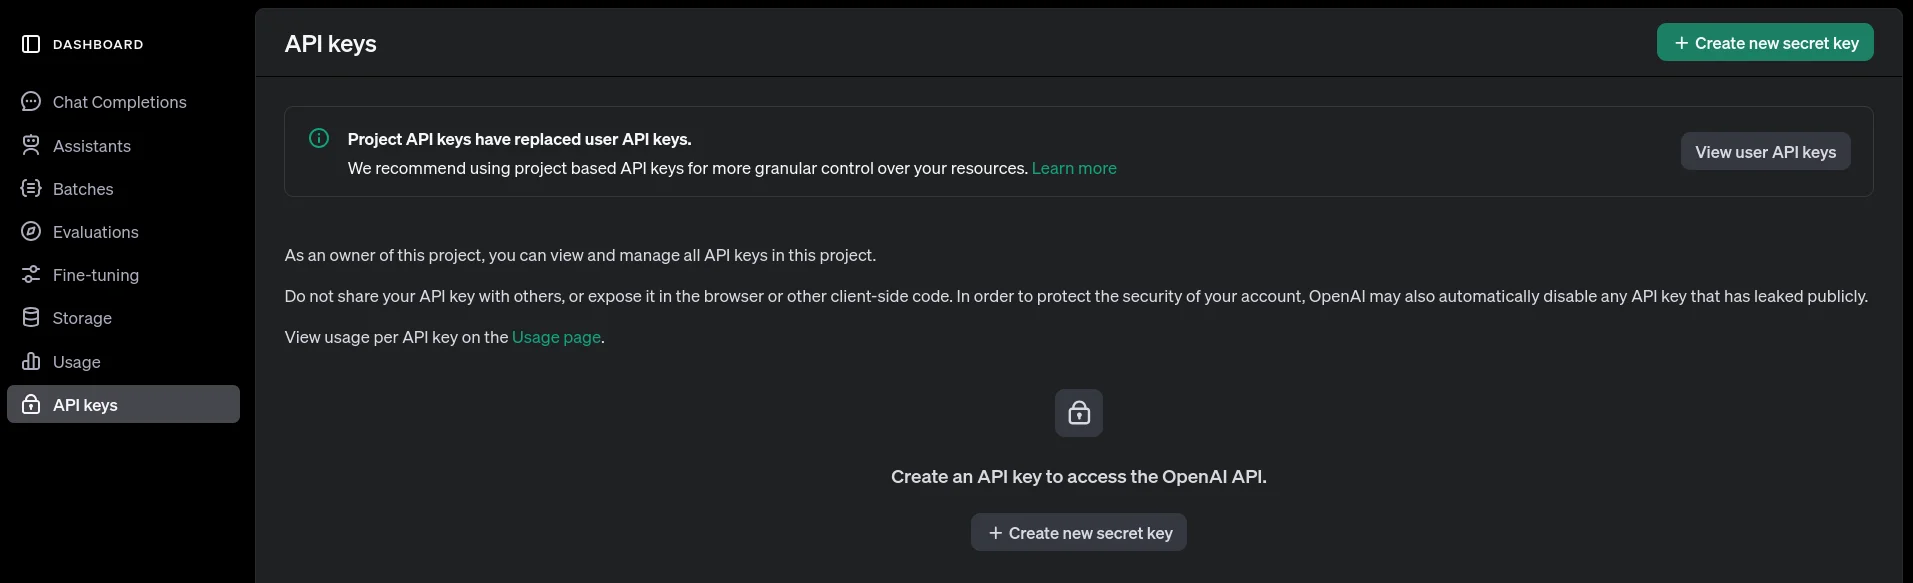
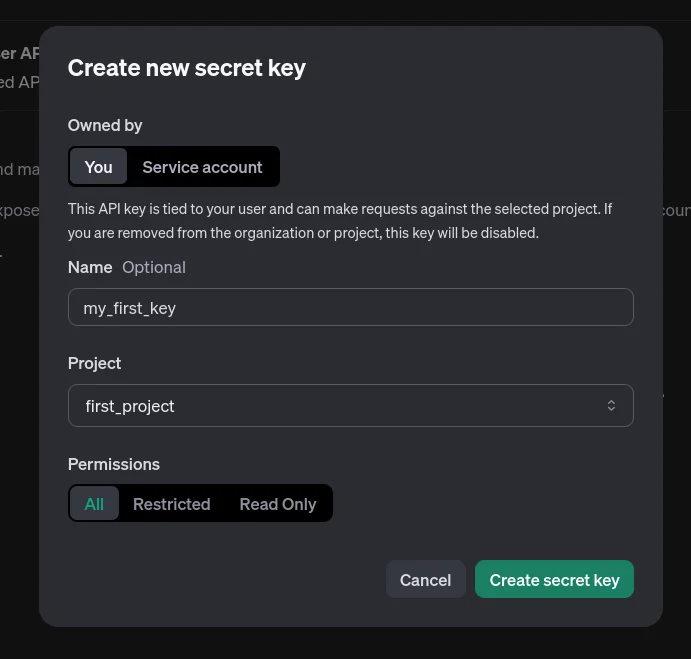
Give the key a name for easier management (optional but recommended). Select the project where the key will be stored. Adjust the permissions as needed.
There are two types of keys you can create:
- Personal API Key: This is a personal API key linked to your OpenAI account, and it becomes invalid if the user account is deleted.
- Service Account Key: This API key is created for automated systems or applications and remains valid even if the associated user account is deleted.
Refer to the official documentation for a better understanding.
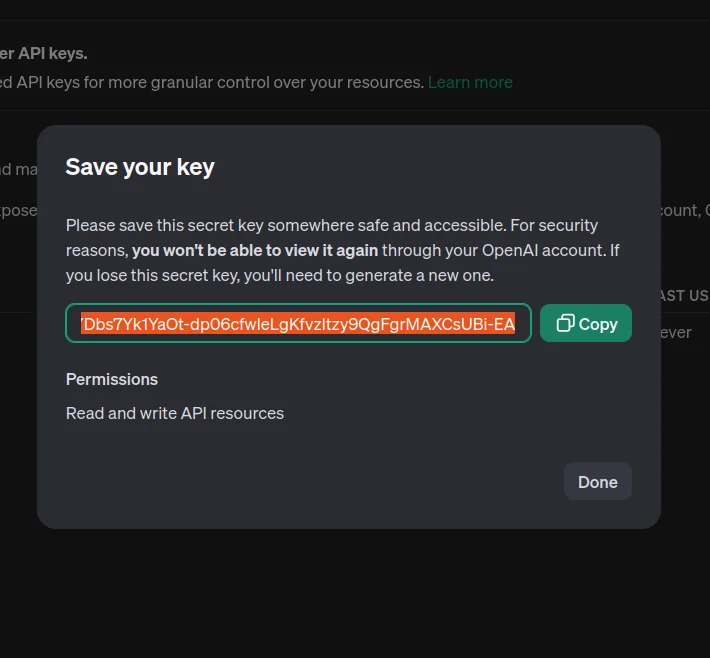
Once you click on “Create secret key”, the key will be displayed
Important: Save the key immediately because you won’t be able to view it again. If you lose it, you’ll need to generate a new one.
Congratulations!
You have generated your first API Key, but wait. You still cannot use this key in your project, as you first need to put some balance into your account, because you know very well, this is a chargeable service and some money is needed in the account for it to work.
Add Credits to Your Account
Navigate to Billing section under Settings, and you will be able to see the Credit remaining in your account.

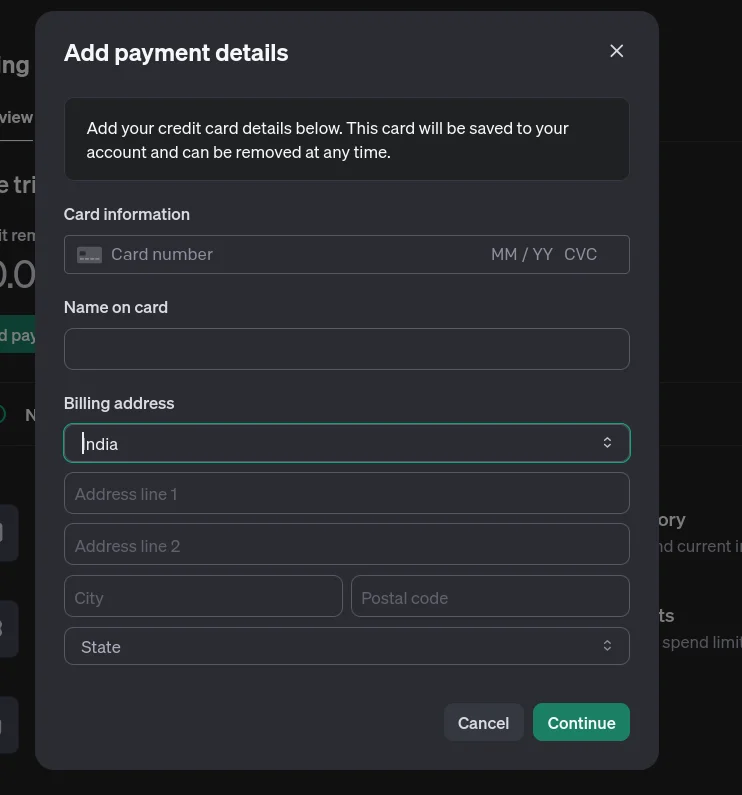
Click “Add payment details” and enter your Credit/Debit Card details in it.
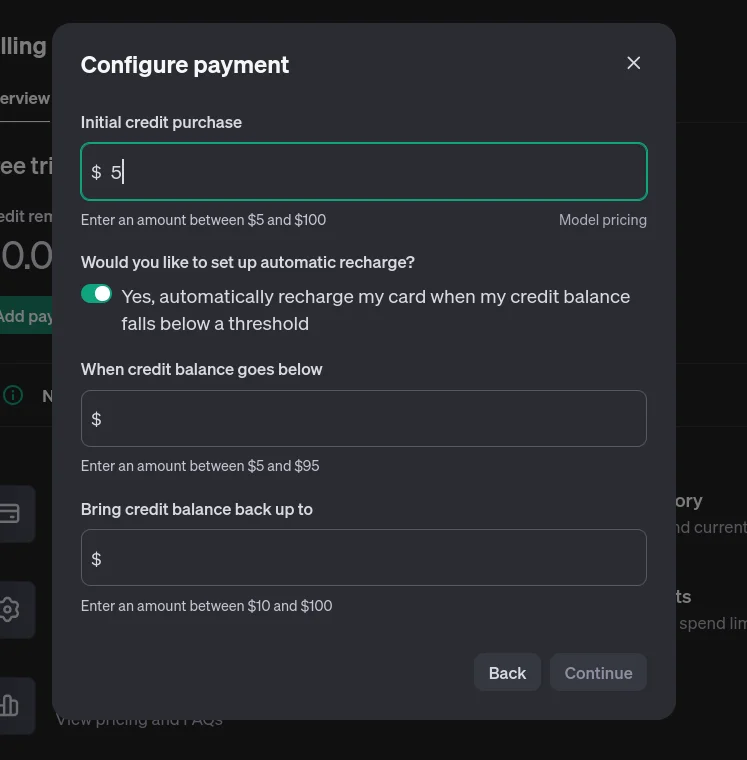
Click Continue and then you can configure your payment. Choose how much credit you want to purchase (from $5 to $100). You can also set up automatic recharges and set up a threshold for when to auto recharge and how much.
Click Continue, and then a final bill will be generated and you will be asked to make the payment. Once the payment is successful, the balance will be reflected in your account.
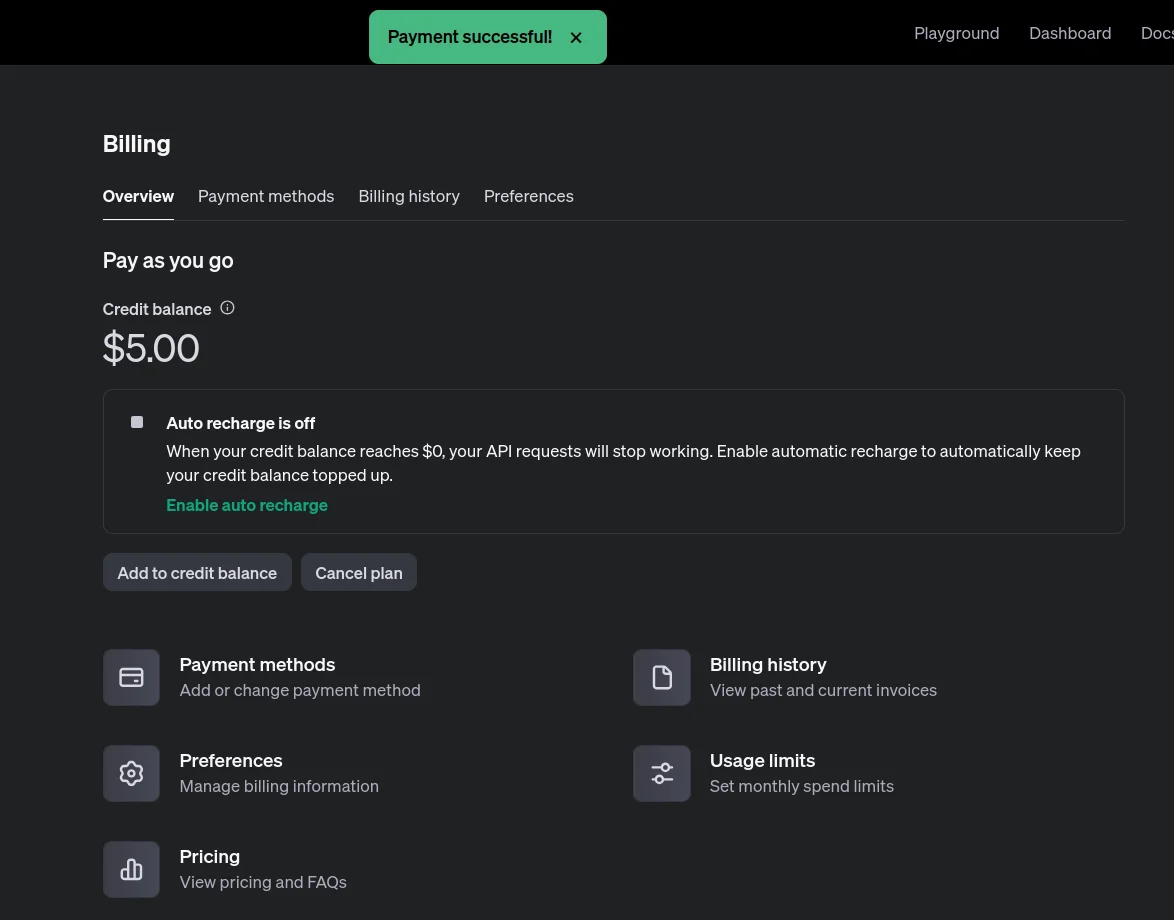
Now you’re ready to use the API key in your projects. The usage costs will be deducted from your balance, and you can recharge as needed.
Setting Cost Limits for Organization or Projects (Optional)
OpenAI allows you to set cost limits at the organization or project level. This helps you control your budget and avoid unexpected charges. You can also choose the models at the Project level which can be accessed with the APIs.
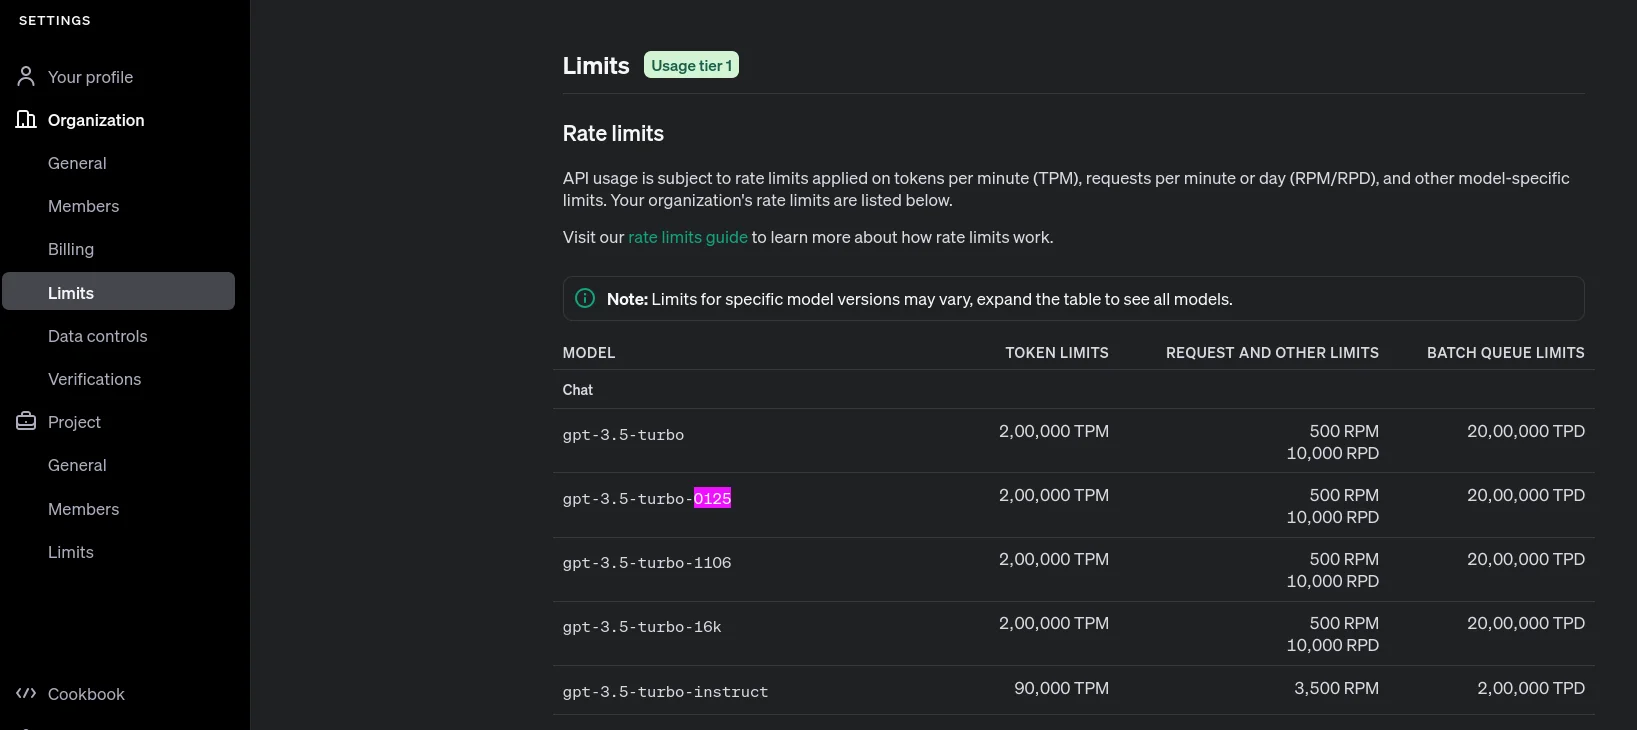
Go to Organization Limits in Settings to view rate limits for your organization. API usage is subject to rate limits applied on tokens per minute (TPM), requests per minute or day (RPM/RPD), and other model-specific limits.
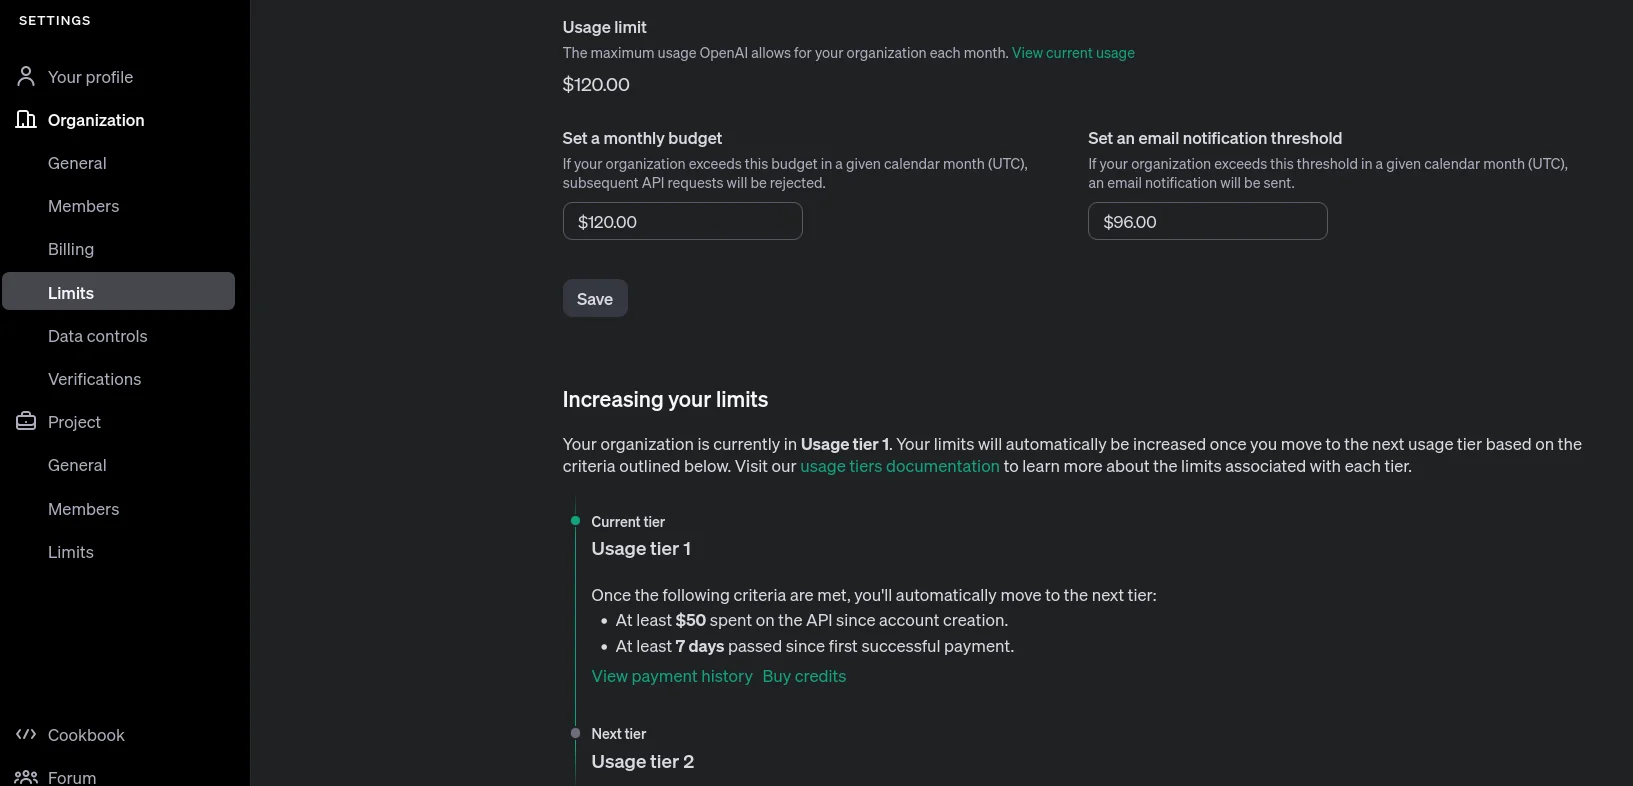
By default your organization will be in Usage tier 1, but as your usage increases, you’ll be upgraded to higher tiers with greater limits.
Scroll to the bottom of the page and you will get the option to set a monthly limit and set an email notification threshold as well.
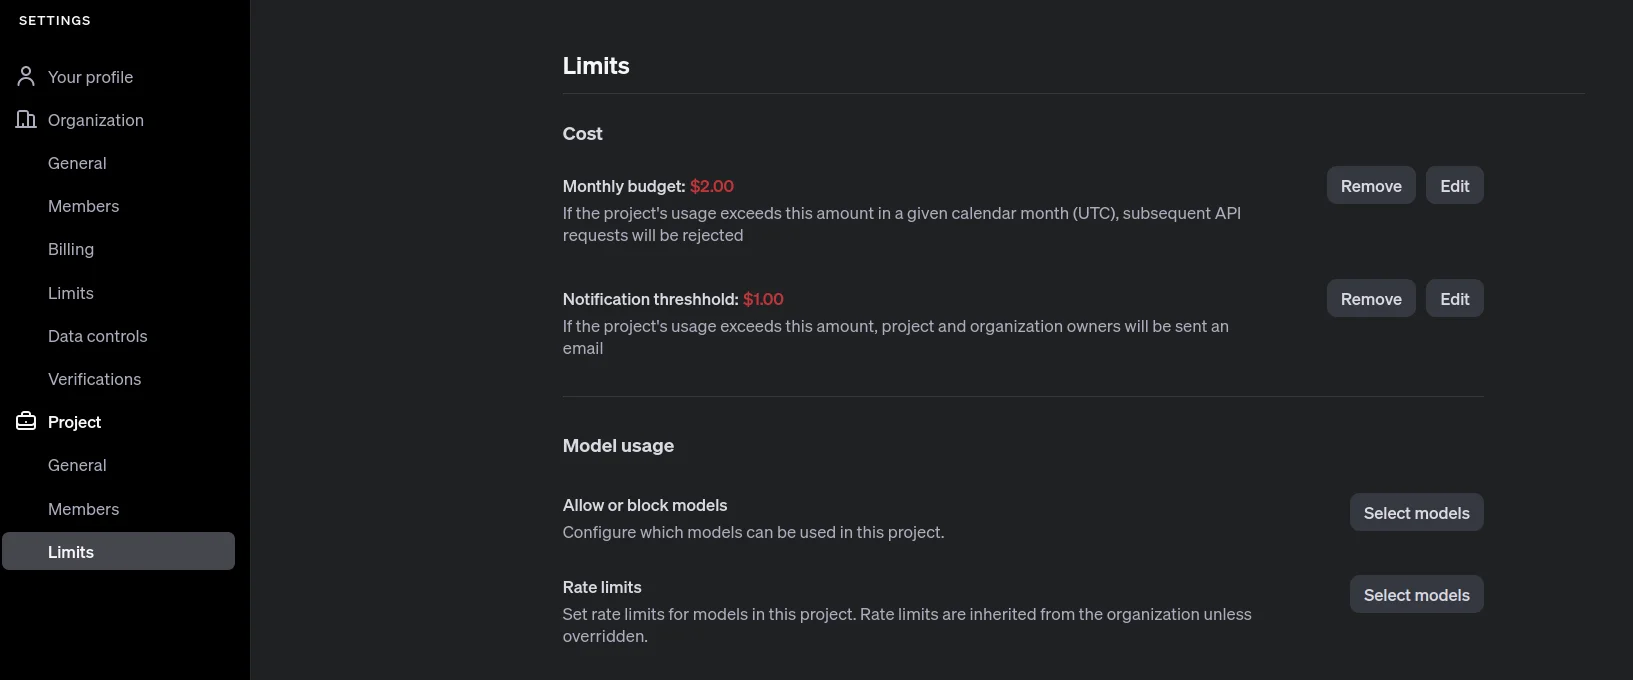
If you want to set limits at a Project level, then navigate to the bottom of the Settings pane, under Project, and there you will be able to set monthly budget and notification threshold, and you can also allow or block models and change Rate Limits (TPM/RPM). Rate limits are inherited from the organization unless overridden at a project level.
Points to Remember
- Cost Limits for API Keys: You cannot set individual cost limits for specific API keys. Instead, the cost limits are applied at the project level. All API keys associated with that project will share the limits set for the project, ensuring that the entire project stays within the defined budget.
- Project Archival and API Keys: Projects cannot be deleted in OpenAI, but they can be archived. Once a project is archived, all associated API keys become unavailable and cannot be used. There is currently no feature to directly delete API keys, only to archive the project they belong to, which deactivates the keys.
Conclusion
Creating your OpenAI API key is a straightforward process that opens the door to leveraging powerful AI models for your projects. By following the outlined steps, you can easily manage your projects, set budget limits, and ensure your API key is securely generated and utilized. Whether you are developing a personal project or working within an organization, understanding how to navigate the OpenAI developer platform will enhance your experience and help you effectively integrate AI into your applications.
If you want to learn more about the Model and Pricing, then you can explore the below-given links:
- Models: https://platform.openai.com/docs/models
- Pricing: https://openai.com/api/pricing/
- Rate Limits: https://platform.openai.com/docs/guides/rate-limits
- Docs: https://platform.openai.com/docs/overview
Using the above links, you can estimate the cost of using different models and adjust your strategy accordingly.
I hope this guide helps you generate and manage your OpenAI API key efficiently.
Frequently Asked Questions
Q1. What is an OpenAI API key?
A. An OpenAI API key is a unique identifier that allows developers to access and interact with OpenAI’s language models and other AI services. It is essential for authentication and usage tracking.
Q2. Do I need to verify my phone number to create an API key?
A. Yes, new users are required to verify their phone number before they can create an API key. This step helps enhance account security.
Q3. Can I create multiple API keys?
A. Yes, you can create multiple API keys under different projects to manage access and permissions according to your needs.
Q4. What should I do if I lose my API key?
A. If you lose your API key, you will need to generate a new one, as the original key cannot be retrieved once it’s created.
Q5. How do I add credits to my OpenAI account?
A. To add credits, navigate to the Billing section in your account settings, enter your payment details, choose the amount of credit you want to purchase, and complete the transaction.
I'm an Artificial Intelligence enthusiast, currently employed as an Associate Data Scientist. I'm passionate about sharing knowledge with the community, focusing on project-based articles. #AI #DataScience #Projects #Community